How to Take a Screenshot of Your iPhone or iPad

How to Take a Screenshot of Your iPhone or iPad – Step by step guide
Do you ever wish to capture something on your screen? Maybe it’s an amusing meme or critical information, and you want to capture it on your iPhone or iPad. Taking a screenshot is pretty much a straightforward process. We will explore the different ways to do so depending on your device.
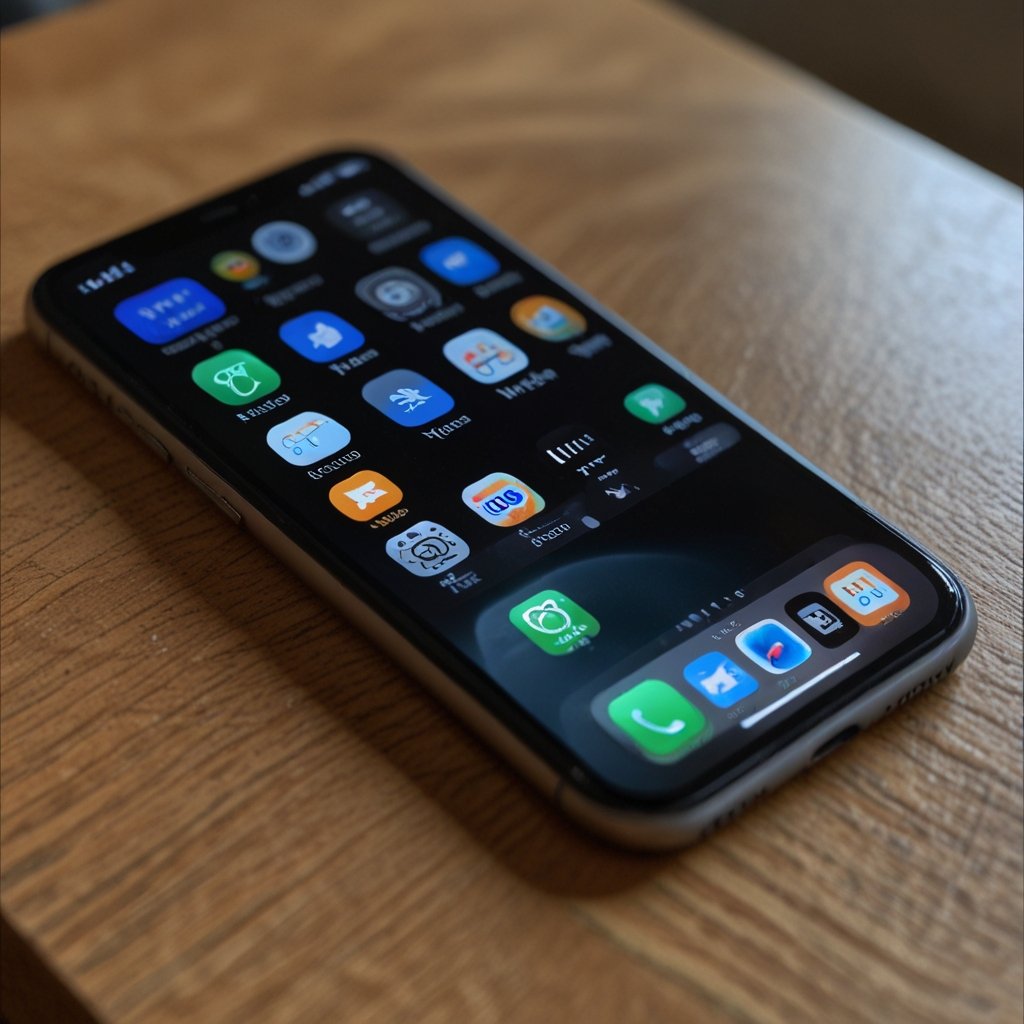
1. Using Face ID on iPhones (iPhone X and later)
- If you do not have a home button on your iPhone, you’re going to do this:
- Hold down your right side Side Button and also the Volume Up button at the same time.
- Toss them together.
- Let go.
- You should find the screenshot of your screenshot appear momentarily in one corner: you may want to tap it and share or edit it, or, most likely, swipe it away when done.

2. For models with a Home Button iPhone 8 and earlier
If you’re using an older iPhone with a home button, these are the steps you’ll use to take a screenshot
- Hold your Side/Top Button (whichever you have) and your Home Button simultaneously
- Release the buttons right away
- From the bottom of your screen, a thumbnail of your screenshot should appear. You may tap it to edit; otherwise, let it go and you’re ready 3. iPad Pro (No Home Button)
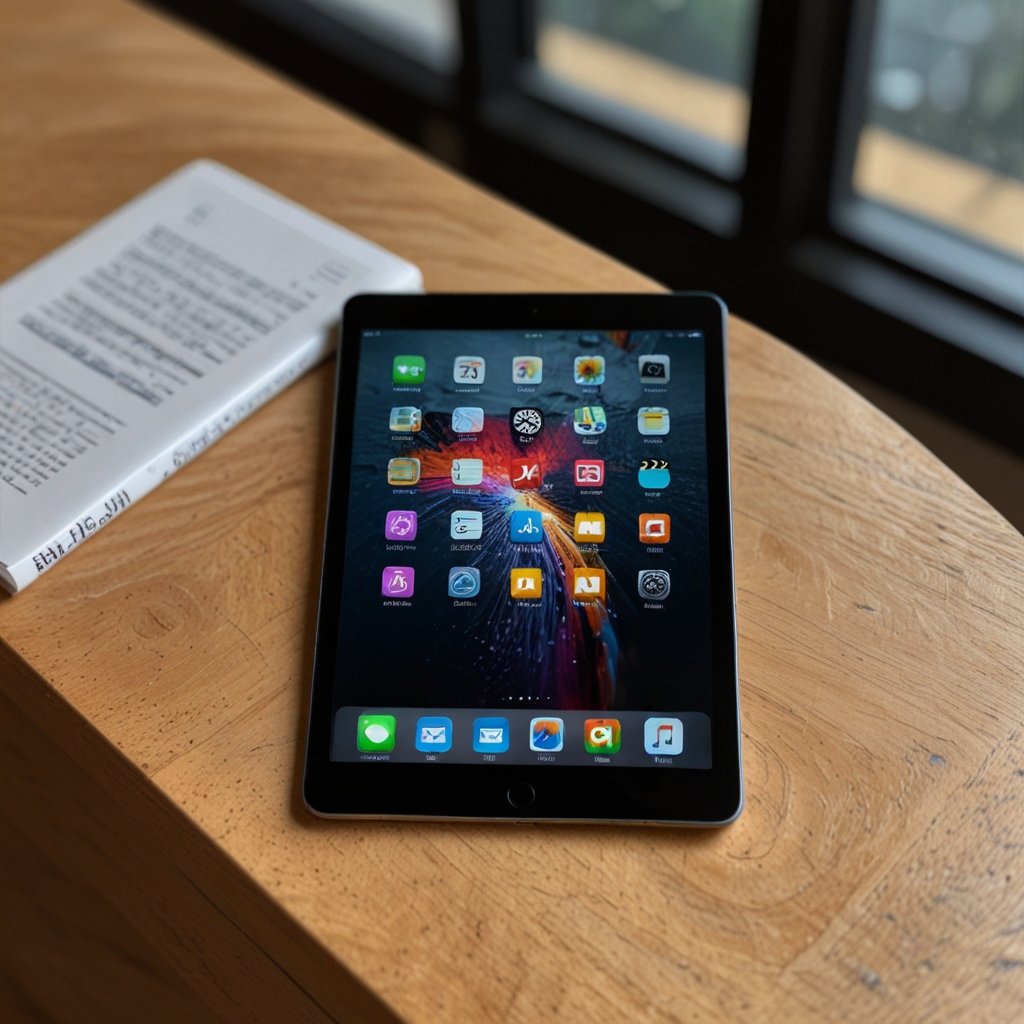
3. A little switch for iPad Pro users, but no big deal:
- Press Top Button + Volume Up Button simultaneously.
- Let go of both buttons.
- You have just captured a screenshot. It will appear as a thumbnail in the corner as an image that you can edit or share

4. For iPads with a Home Button
- If your iPad still has a home button, here’s how you take a screenshot:
- Press both Top Button and Home Button.
- Let it go quickly.
- You will get a small thumbnail at the bottom corner of your screen, exactly like an iPhone
5. Taking Screenshots Using AssistiveTouch
If you’re not a fan of button-mashing fun, here comes taking screenshots with the help of AssistiveTouch. That is a button in the screen that will make things easier for people who do not want to use the buttons as mentioned below :
- Step 1: Go to Settings → Accessibility → Touch → AssistiveTouch
- Enable AssistiveTouch.
- Now you’ll see a small circle on your screen (that’s the AssistiveTouch menu). Tap it.
- Device → More → Screenshot. Whoa! There’s your screenshot, minus having to press any buttons.

6. Finding and Sharing Your Screenshots
You might be wondering where your screenshots go. They automatically save in your Photos app, filed neatly for you in a folder called Screenshots underneath Albums.
- From there, you can easily:
- Edit them (crop, add text, or highlight).
- Share them with your friends.
- Or just delete them if they were a mistake (we’ve all been there!)
7. Editing Your Screenshots
- Once you take a screenshot, that little thumbnail in the corner is your ticket to some quick edits:
- Opening tapping takes you to an editing screen where you can draw, add text, crop or highlight specific parts.
- Once happy, you can save or share it right away.